Water is one of the most vital resources for households, farms, and industries. When access to municipal water is limited or unavailable, drilling a private water well becomes a reliable solution. But before water starts flowing, there’s a structured process involved. Understanding the steps to water well drilling process can help property owners plan effectively and ensure a safe, efficient, and sustainable water supply.
1. Site Evaluation and Planning
The first step is to assess the land. Professional well drillers conduct surveys to determine the best drilling location by considering:
- Groundwater availability
- Soil and rock composition
- Distance from septic systems or contaminants
- Local regulations and permits
This planning phase ensures the well is both productive and safe.
2. Obtaining Permits and Legal Clearance
Before drilling begins, property owners must comply with local laws. Depending on your region, permits may be required to regulate water use, prevent over-extraction, and protect groundwater quality. Professional drilling contractors usually handle this paperwork.
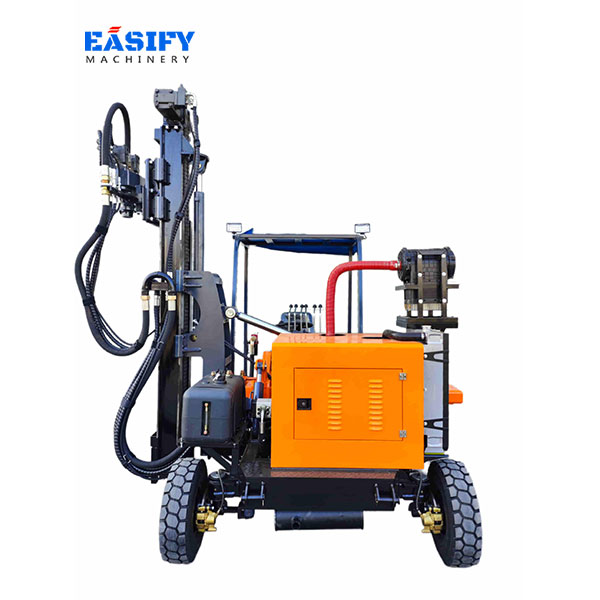
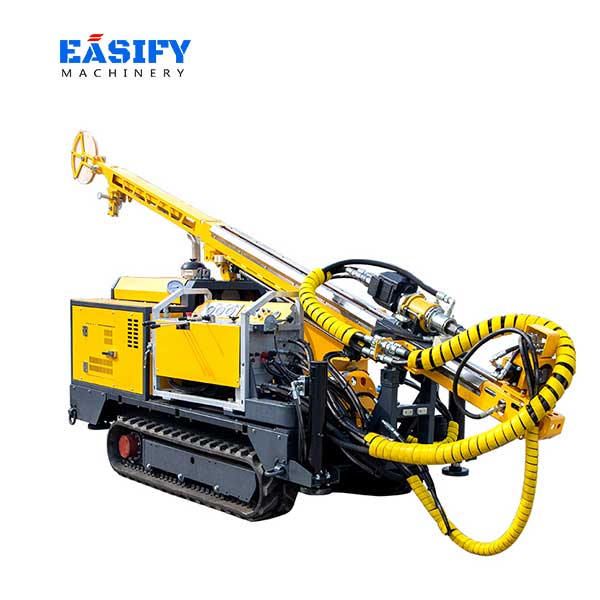
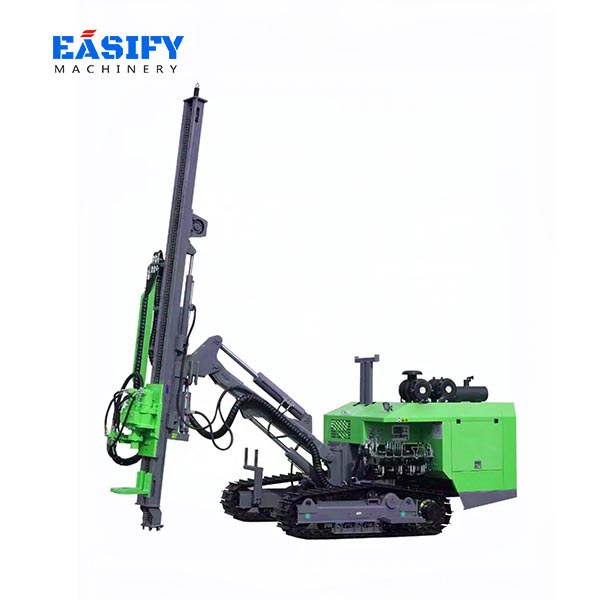
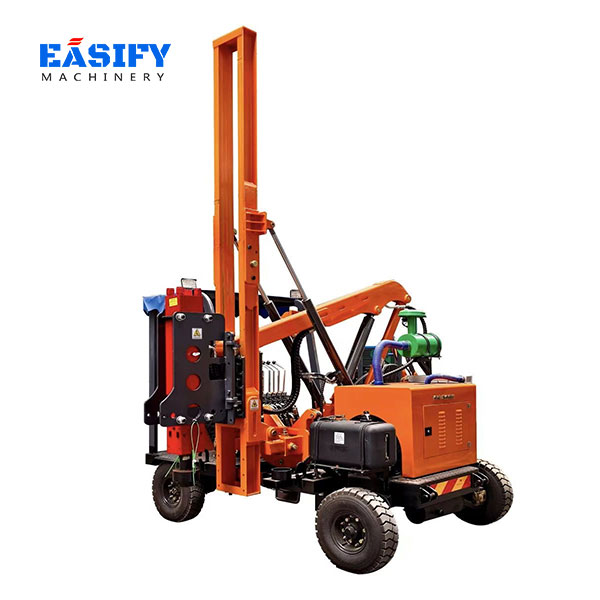
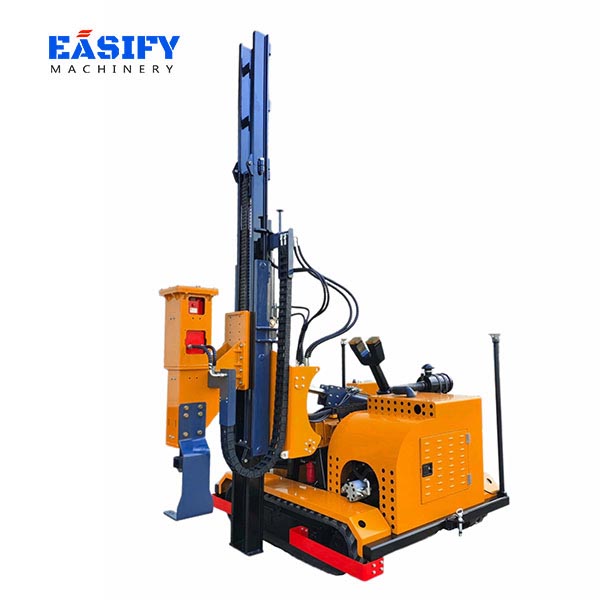
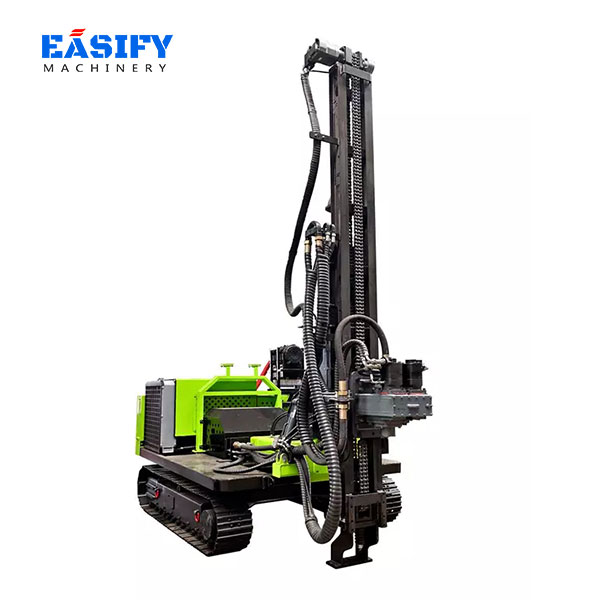
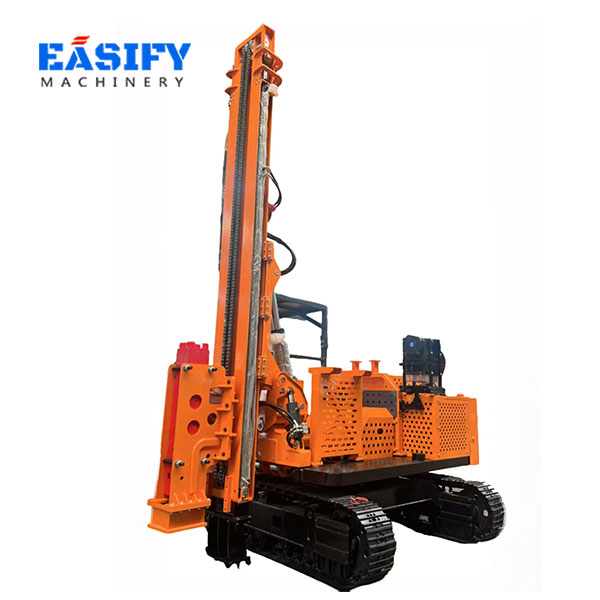
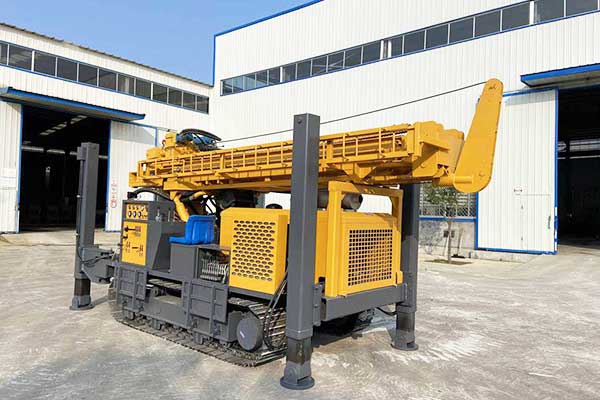
3. Drilling the Borehole with a Water Well Drilling Rig
The actual drilling process begins with the use of a water well drilling rig. These powerful machines are designed to bore deep into the ground, breaking through soil, gravel, and rock layers until reaching the water-bearing aquifer. Depending on the terrain, contractors may use rotary drilling, percussion drilling, or down-the-hole hammer drilling. The choice of drilling rig directly affects the speed, efficiency, and success of the project.
4. Installing the Casing and Screen
Once the borehole is drilled, steel or PVC casing is placed inside to prevent collapse and keep contaminants out. A screen is installed at the water-bearing section to filter out sand and debris while allowing water to flow into the well.
5. Grouting and Sealing
To protect groundwater from surface contamination, the casing is sealed with grout, usually made of cement or bentonite clay. This step ensures long-term water quality and structural integrity.
6. Developing the Well
Well development involves flushing and pumping to remove drilling debris and fine particles around the well screen. This step improves water flow efficiency and ensures cleaner water output.
7. Pump Installation
After the well is developed, a submersible pump or jet pump is installed. The choice depends on the well depth and water needs. Proper pump sizing is critical for efficiency and longevity.
8. Water Quality Testing
Before the well is ready for use, professional testing is performed to ensure the water meets health and safety standards. Tests usually check for bacteria, nitrates, heavy metals, and other contaminants.
9. Final Inspection and Maintenance Planning
The last step involves system checks to confirm everything functions correctly. Regular maintenance, including water testing and pump inspection, is essential to extend the life of the well and maintain safe water quality.
Conclusion
The steps to water well drilling process involve careful planning, precise drilling, and ongoing maintenance. From site selection to pump installation, each stage plays a vital role in ensuring safe, clean, and sustainable water supply.
If you are looking for drilling equipment, you can explore water well drilling rigs from Easify. Our rigs are designed for efficiency, durability, and performance—whether you need a compact solution for shallow wells or a heavy-duty model for deep drilling. Contact us today for more information, and let Easify provide the right drilling solution for your project.